Installation - Debian 8 Jessie
Contents
- 1 OS installing
- 1.1 Main installation screen
- 1.2 Language
- 1.3 Location
- 1.4 Keyboard layout
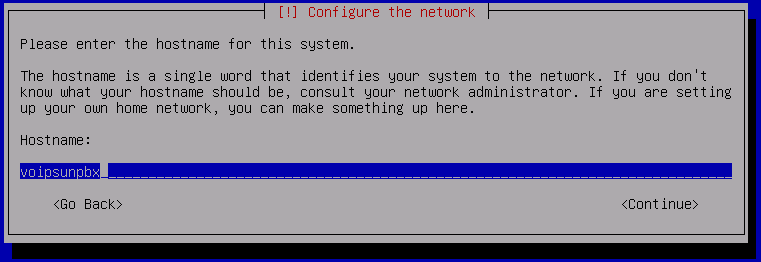
- 1.5 Host name
- 1.6 Domain name
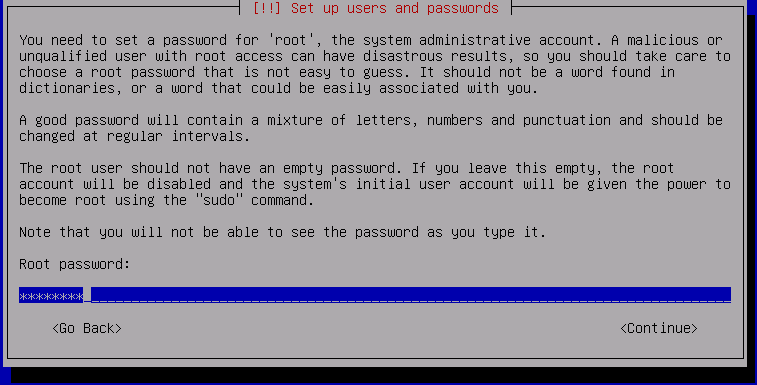
- 1.7 Root password
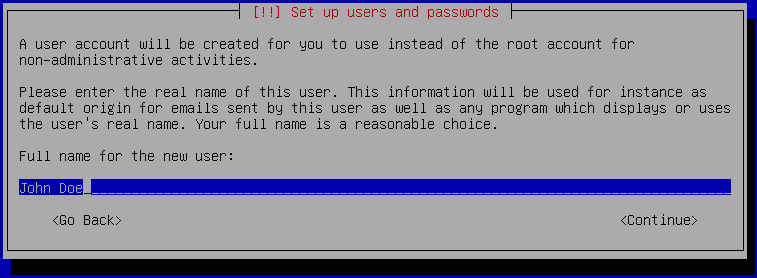
- 1.8 User account
- 1.9 User account login name
- 1.10 User account password
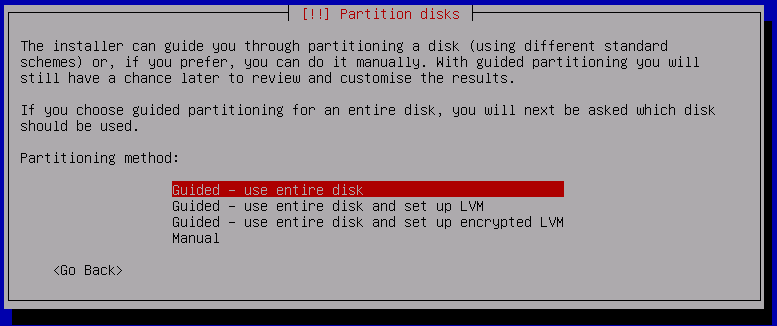
- 1.11 Partition disk
- 1.12 Partition disk - select disk
- 1.13 Partition disk - select disk
- 1.14 Partition disk - overview
- 1.15 Partition disk - write changes
- 1.16 Package manager
- 1.17 Package manager - Archive
- 1.18 Package manager - proxy settings
- 1.19 Package manager - popularity-contest
- 1.20 Software selection
- 1.21 GRUB boot loader
- 1.22 Finish installation
- 1.23 Login to the installed system
- 2 PBX installation
- 3 License installation
OS installing
This is an outdated system. Please use an installation manual on the https://www.voipsun.cz/doc_en/Debian_11_Bullseye
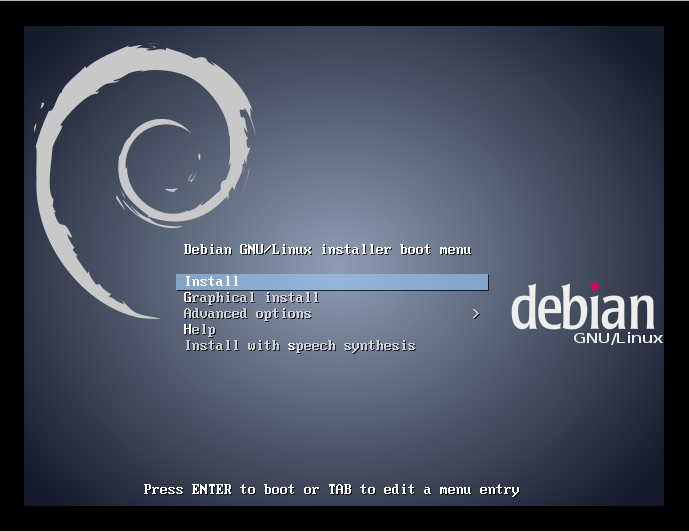
Main installation screen
Select install option
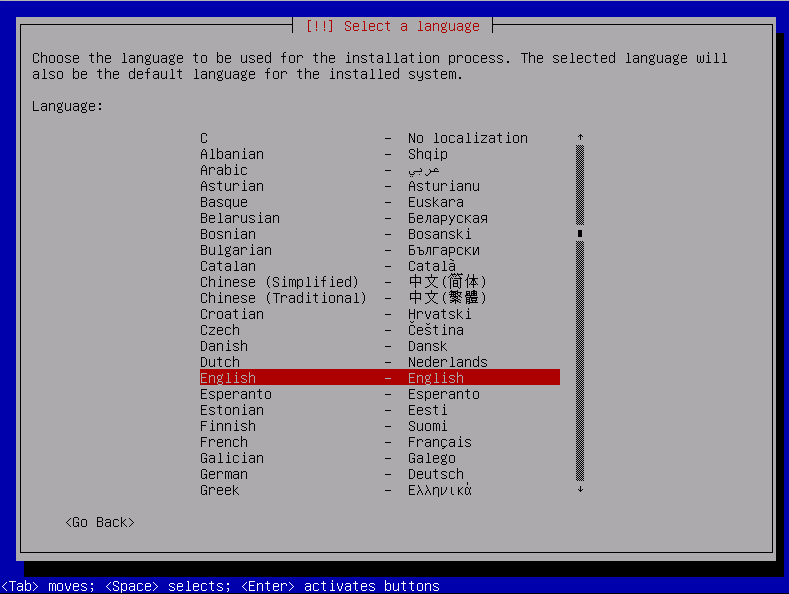
Language
Choose language
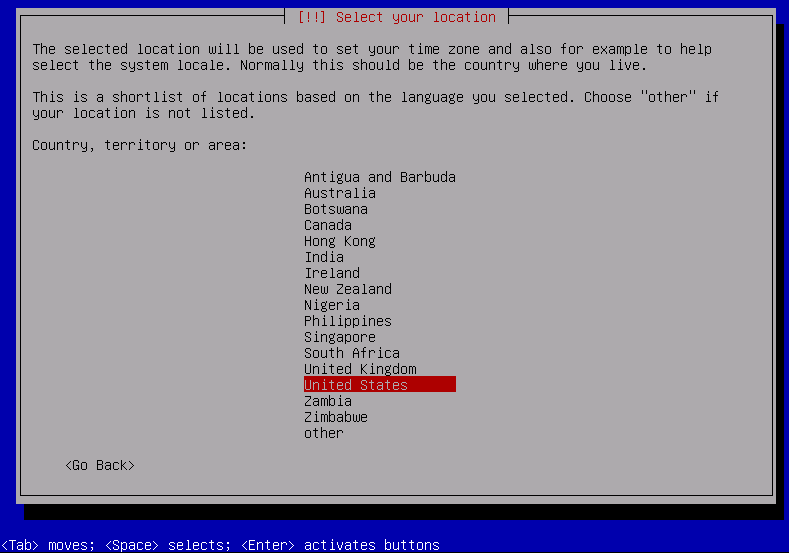
Location
Select your location
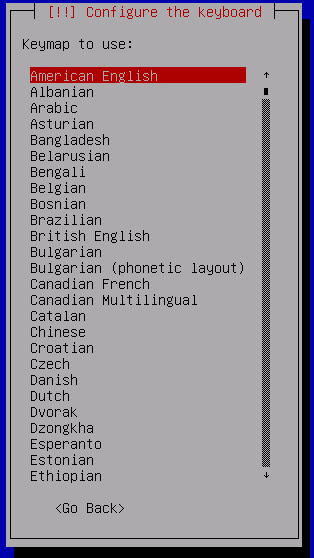
Keyboard layout
Select keyboard layout. If unsure select the default one.
Host name
Set host name
Domain name
If unsure keep it empty.
Root password
Set root password
User account
Set name of your user
User account login name
Set your user login name
User account password
Set your username password
Partition disk
Partition your disk and if unsure select Guided - use entire disk
Partition disk - select disk
Select desired disk you want to install system on. All data will be lost!
Partition disk - select disk
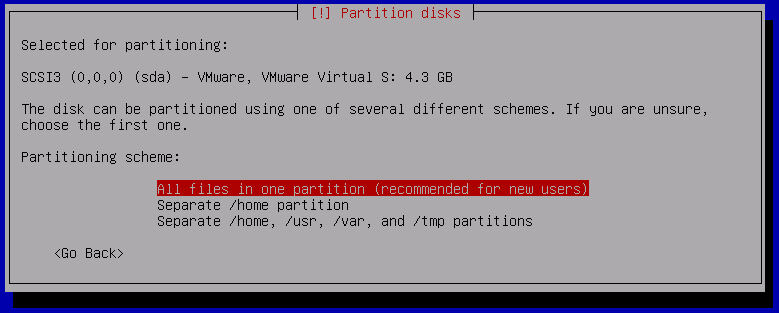
Select all files in one partition
Partition disk - overview
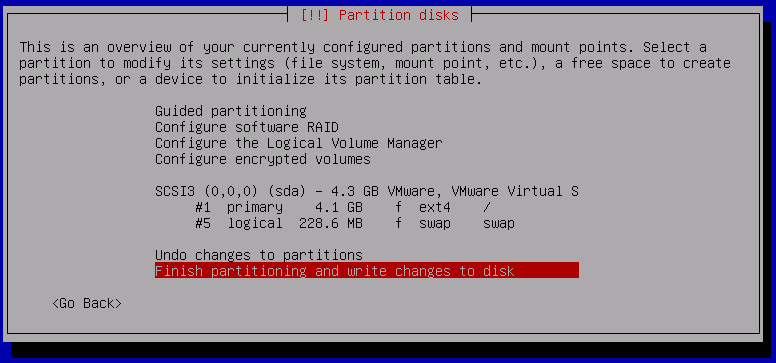
Finish partitioning and write changes to disk
Partition disk - write changes
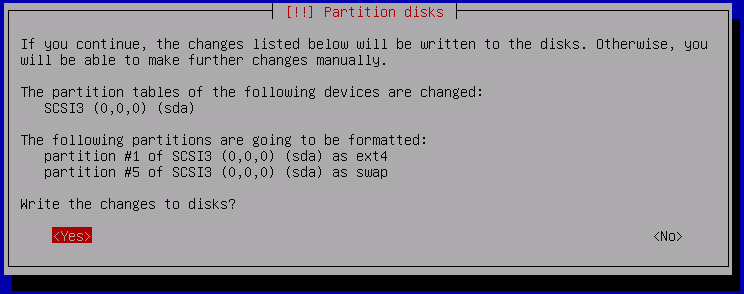
Confirm writing changes to disk.
Package manager
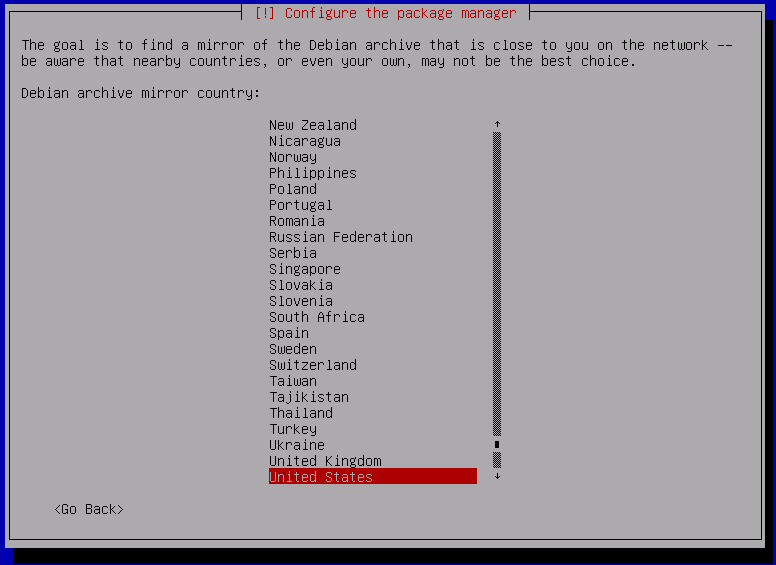
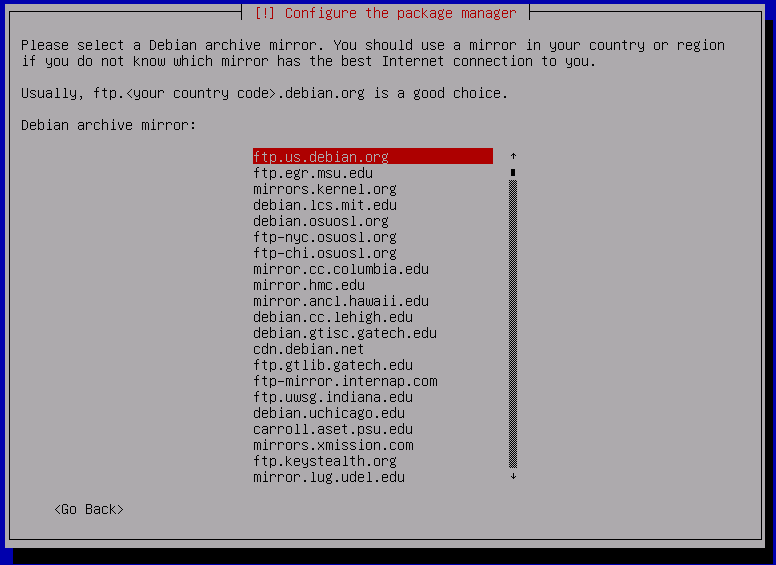
Select the nearest mirror
Package manager - Archive
Select one of the mirror
Package manager - proxy settings
If unsure keep it empty
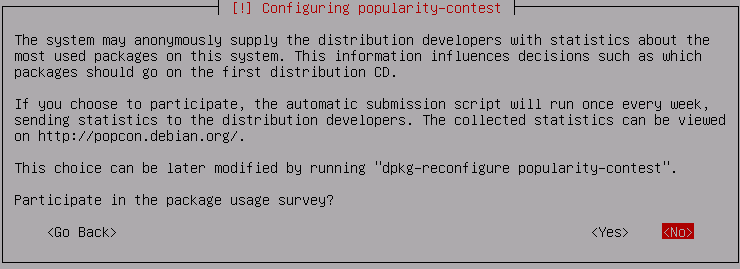
Package manager - popularity-contest
Do not enable participation - select NO
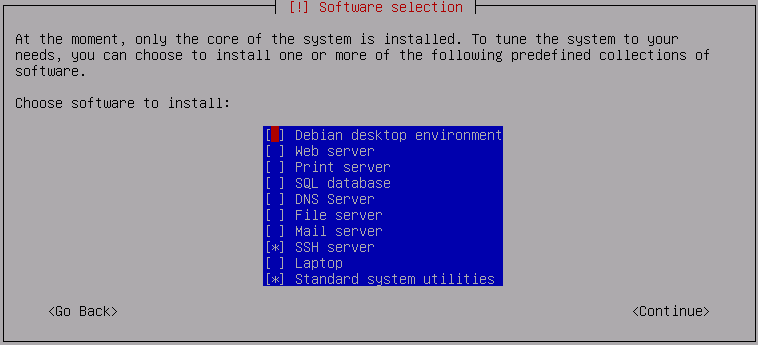
Software selection
Enable only SSH server and Standard system utilities
GRUB boot loader
Select YES
Finish installation
Login to the installed system
Login with user root and your password you selected
PBX installation
Run this commands which will install installation script
wget http://www.voipsun.cz/pbx/install_debian_8.sh
chmod +x install_debian_8.sh
./install_debian_8.sh
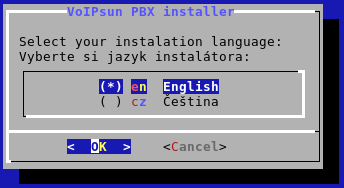
Select language
Select your preferred language.
After confirming the script will download and install dependency packages.
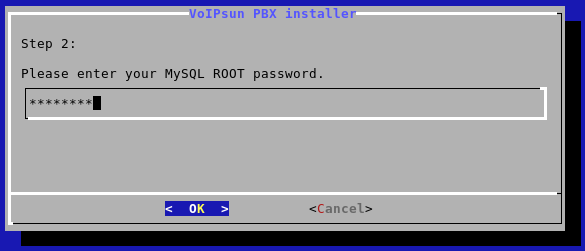
MySQL root password
During installation you will be prompted for MySQL root password. Recommended is to put some random password.
Remember this password for later use otherwise you will need to reinstall it!
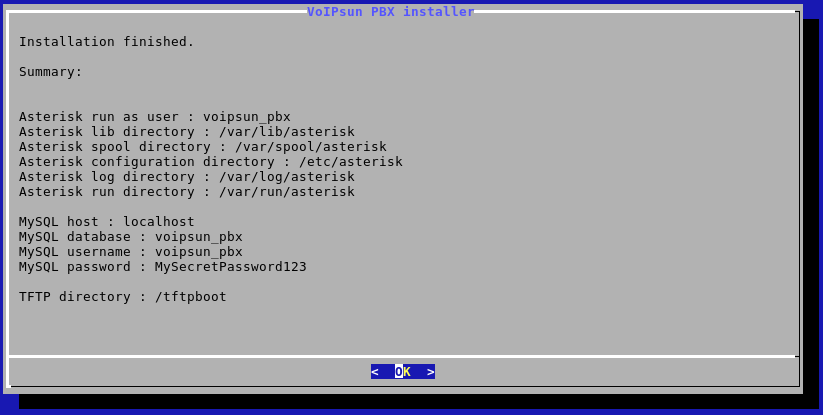
After installation process , you will be notified by information message.
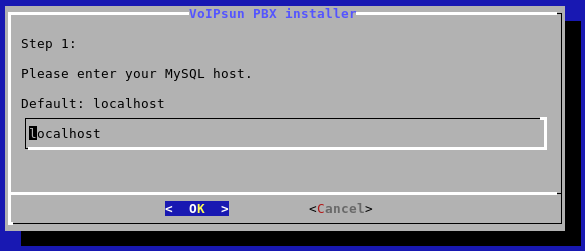
MySQL database - server
Enter an address or FQDN of the MySQL server. In our case, the PBX will be installed on the same server where it is installed MySQL server. For this reason, leave the value 'localhost' and press ENTER to confirm.
Enter the password for the root user of MySQL database. This is the password that you set during installation packages process.
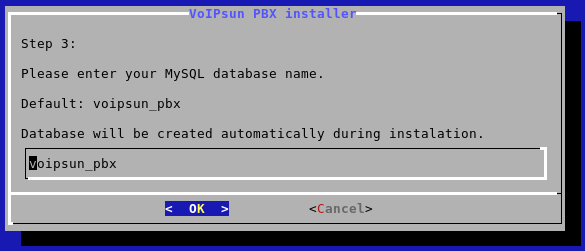
Enter the database name for PBX.
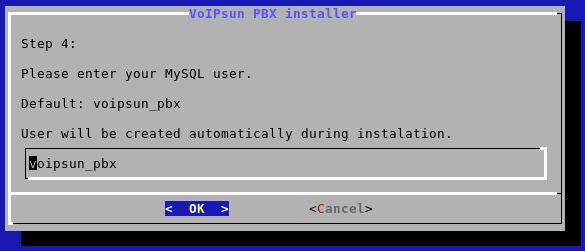
Enter the PBX username of MySQL database. We recommend set the pre-filled value or set a your own user.
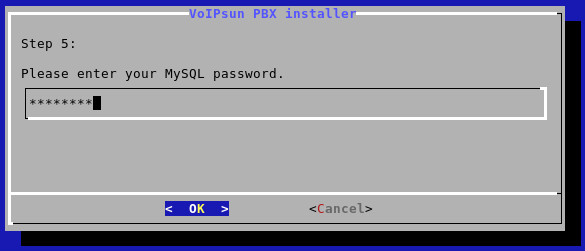
Enter the password for PBX MySQL user.
Asterisk configuration
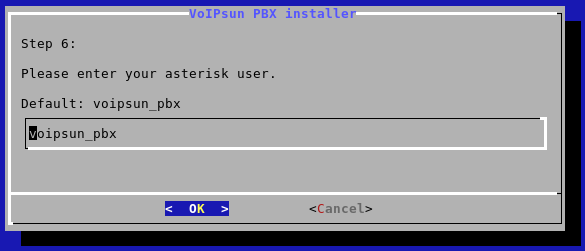
Set username for nonroot user which will be used for running main applications. If unsure keep it default to voipsun_pbx
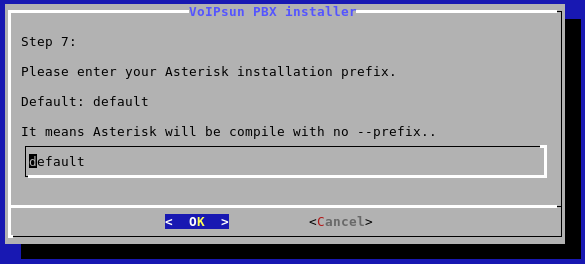
If you would like to install to another folder then default change it. If unsure keep it default.
Example: /opt/voipsunpbx
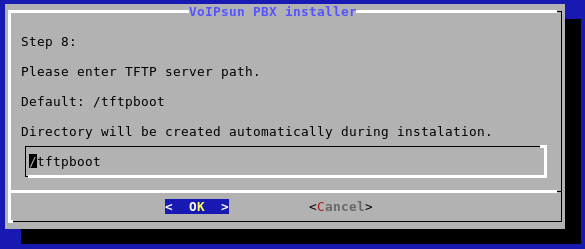
TFTP server
Set TFTP folder path. If unsure keep it default.
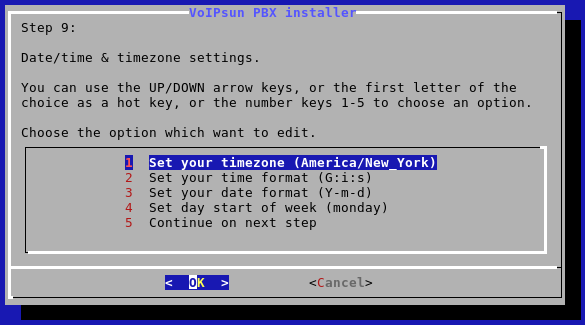
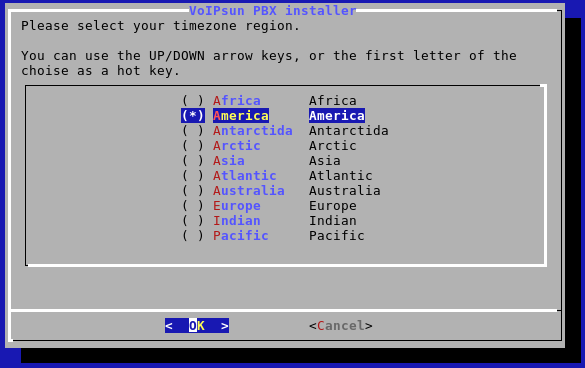
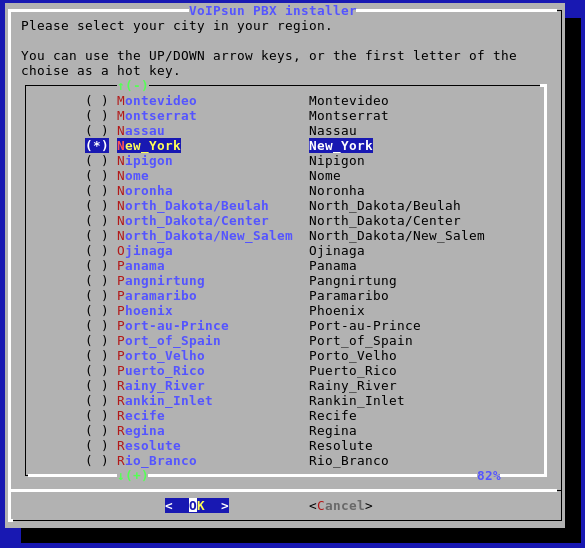
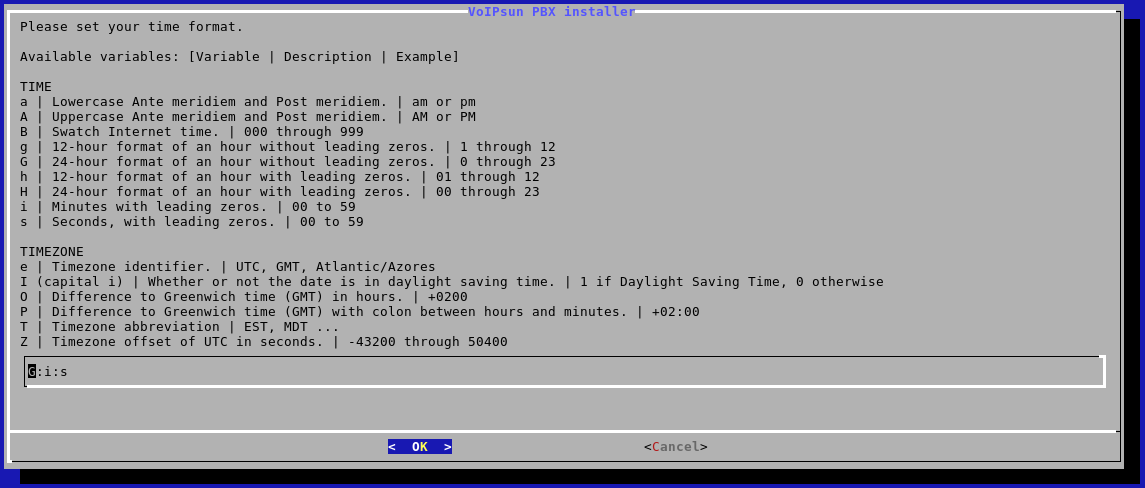
Timezone / date settings
Set your timezone / date accordingly.
Continet settings.
City
Time format
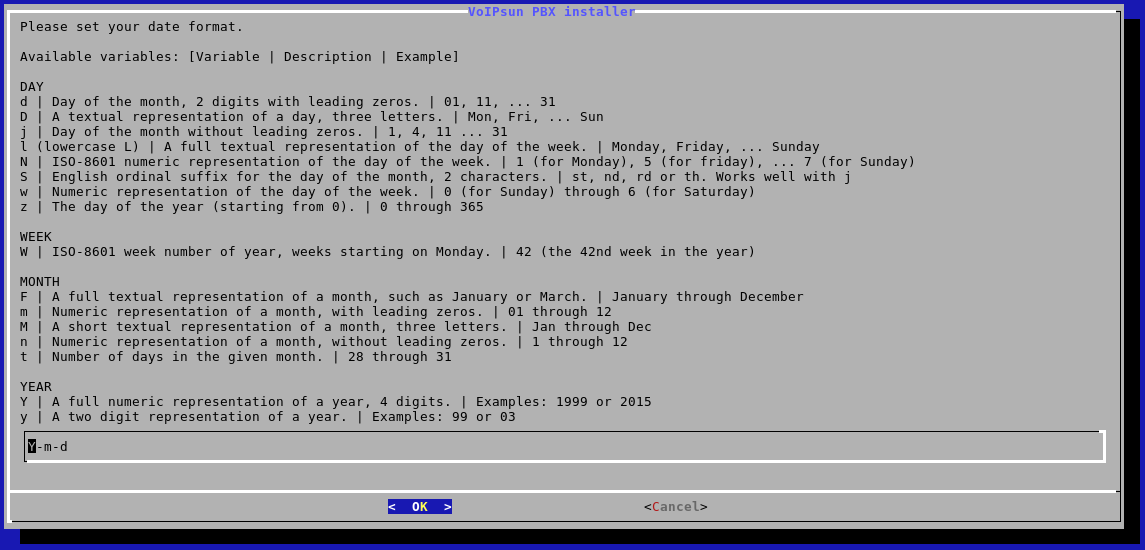
Date format.
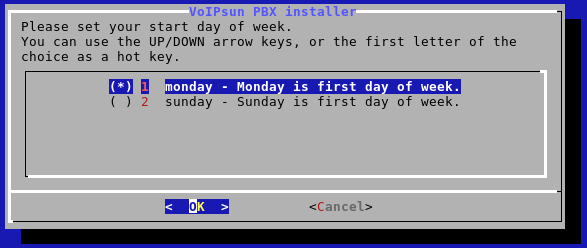
First day of week.
SSL certificates
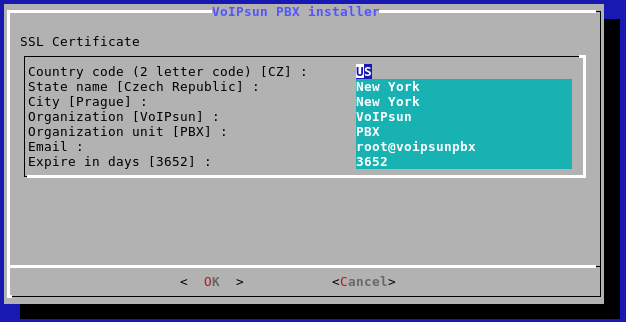
SSL certificate generator for the WEB server
Fill in accordingly or keep it default.
Asterisk installation
In this step the script will download last versions of
- Asterisk 11
- DAHDI - timer, analog/digital card drivers
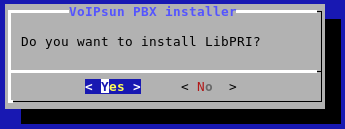
- LibPRI - ISDN library (optional)
- SpanDSP - fax library
- PtLIB - Portable Tools Library
If you do not have digital card (ISDN) you can skip this
List of packages which will be installed.
License installation
After installing the PBX, check the IP address of the control panel with the ip command. You will get a similar listing:
In this case, the IP address of the installed PBX on the network interface eth0 is 172.16.205.134. Your IP address will be different.
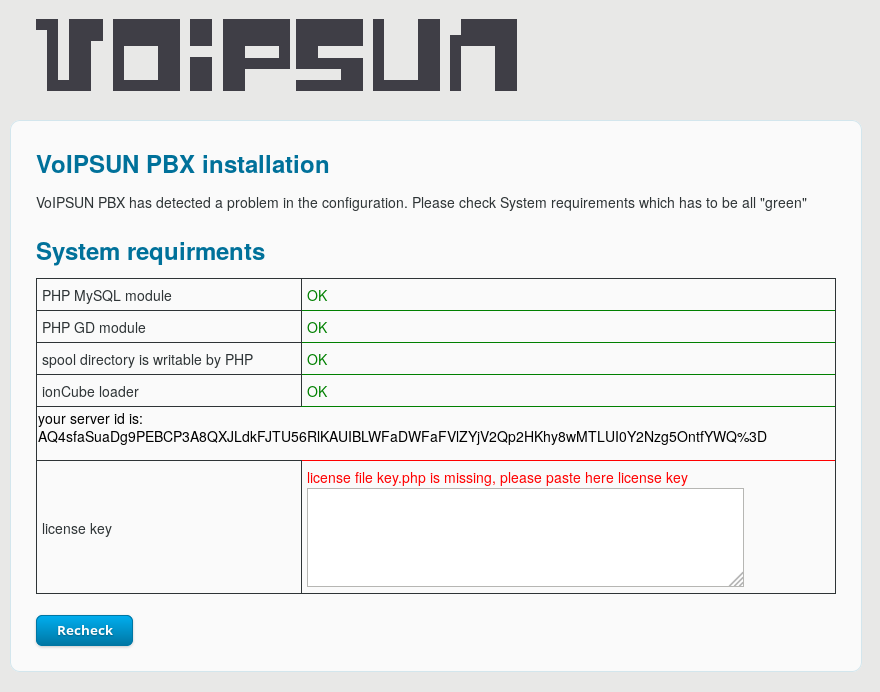
In the next step, please enter the PBX IP address to navigate bar in your internet browser (recommended Chrome or Firefox). You will see installation web page with license window.
Send email to info@voipsun.cz with server ID information and you will receive proper license key.
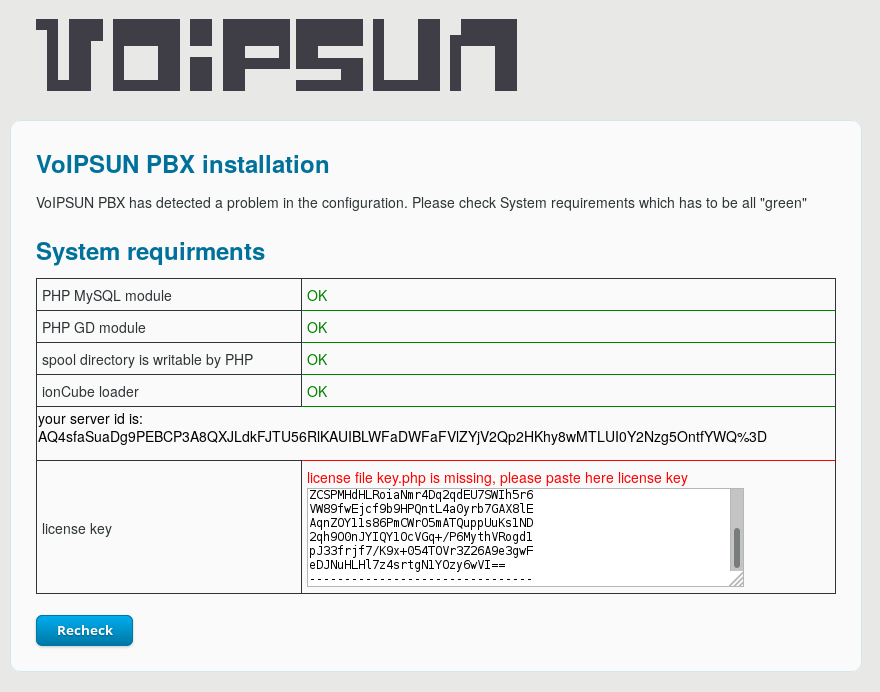
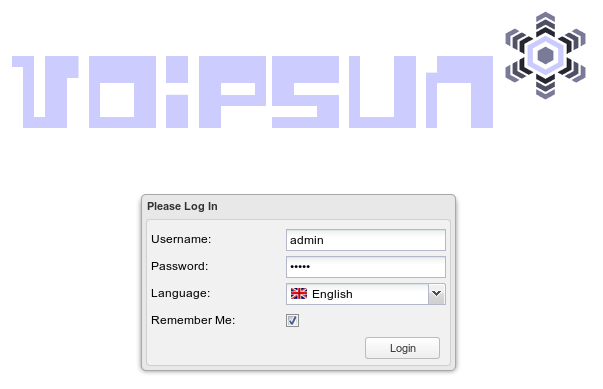
Paste the key into form and click on the Recheck button. You will see the login page.
First login
Enter default user/password - admin / admin and select language
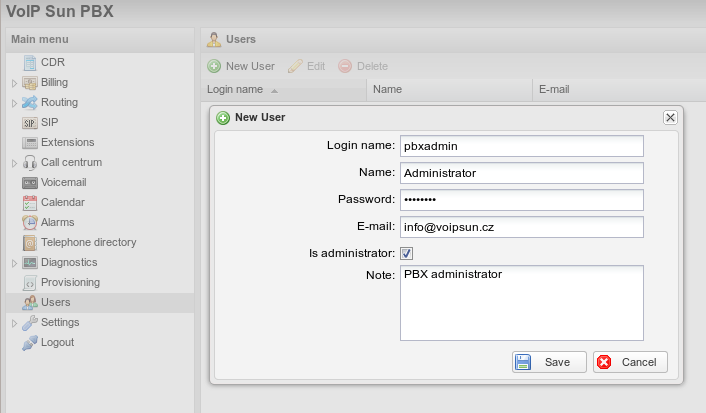
Create your admin username
Set your username and check "is admin"
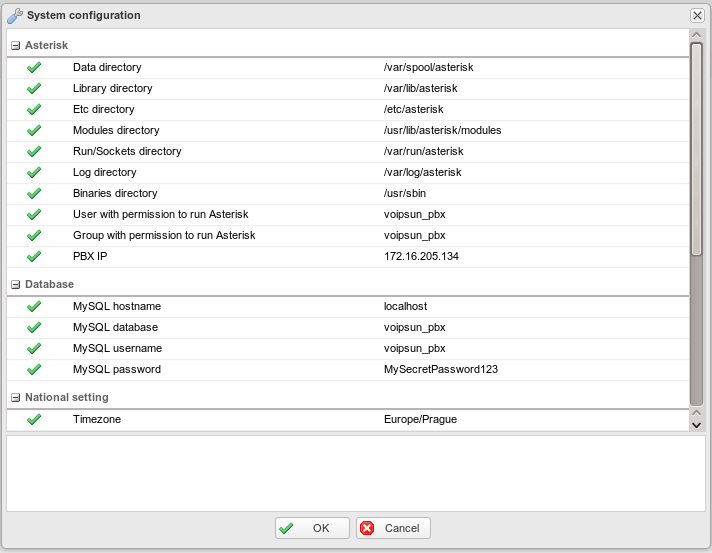
After user creation go to settings and system configuration
Change your IP adress from 172.0.0.1 to your real IP address.
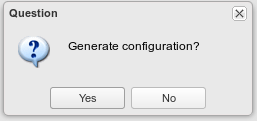
Select settings and generate configuration
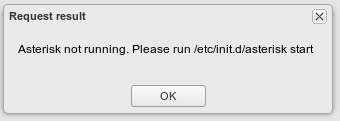
Ignor error "Asterisk is not running" and reboot your server with command on console: reboot.
After restart the server, your PBX is completelly installed.


